DIY Mason Jar Jack-O-Lanterns
Just in time for Halloween decorating, these mason jars are quick, easy, and super fun to make. What we love about these mason jar jack-o-lanterns is they will outlast any pumpkin you carve and can be kept inside or outside. Hope you enjoy making these as much as we did.
Here are the materials you will need to make your mason jar jack-o-lantern:
-Mason Jar
-Tape (masking or electrical)
-Frosted glass spray paint
-Sponge brush
-Acrylic paint (any fall colors you like, plus green for the lid)
-Scissors
-Pen
-Paper (for sketching)
-Electric tea light
Steps-
1. Clean your mason jar with water and soap. Make sure the jar is thoroughly dry before spray painting is.
2. Spray the front of the mason jar with the Frosted Glass Spray paint. Allow to completely dry before continuing on.
3. Sketch the jack-o-lantern face you would like onto a piece of paper. Then copy the design onto the tape.
4. Cut out the design from the tape and place over the frosted section of your mason jar.
5. Get ready to paint. Sponge the entire mason jar with paint. Make sure to sponge over the tape design so there are no gaps.
6. Allow to completely dry, before removing the tape.
7. Once the jar has dried, remove the tape carefully, making sure not to take any of the paint off the jar.
8. Sponge the lid of the jar with green acrylic paint. Allow to dry completely before placing on the mason jar.
Enjoy your Mason Jar Jack-O-Lantern, inside or outside.
DIY Mason Jar Tumblers
Ok this isn't food, but at the request of Stephanie I'm posting on how I made these adorable mason jar tumblers. I made them for 29 people, we hosted the family for dinner this past Easter. I realized that I didn't have glassware for 29 so this was my solution. Plus everyone got to take theirs home as a gift from me!
.JPG) |
Made stencils of everyone's name using contact paper (yeah the fancy green and white stuff was left over from the kitchen cabinets) on the Silhouette Cameo. Clean the jars with rubbing alcohol before applying to get any dirt and oil off the jar. Wear latex gloves to make sure you aren't redepositing oils from your skin on the glass! Make sure that there are NO bubbles around the name or the etching cream with bleed under.
 |
| I used Armour Etch. You can find it in craft stores for about $12.00. I used half of a clothes pin to spread the cream on the stencil. (I couldn't find my stash of craft sticks!) |
 |
| Here I am spreading it on the name. |
 |
| Let the etching cream sit on the jar for about 5 minutes. The directions say 1 minute, but more time doesn't hurt. I left these sitting in the sink far away from the granite counter tops. FYI the etching cream will etch granite! (Don't worry, my counter tops were NOT harmed in the process.) | | |
|
|
Now comes the"hard part" putting grommets in the lids. Why do you need a grommet in the lid? For your straw of course!
I used a grommet kit from the hardware store. You can use the fabric grommet kits, but you'll need to drill a hole in your lid to fit the pieces first. The kit I used has a punch for this.
 | | |
| The punch is the tube thingy on the left. |
After you've got the hole punched place the "male" side of the grommet on the base.
Place your lid on top wrong side up. Then place the "female" side. Insert the tool to pound down the grommet and hit it with your hammer until snug. Don't get overzealous though or you'll warp the lid!
Ta da! You're done! Enjoy your mason jar tumbler with your name!
By the way if you love these but don't have the time or the desire to DIY, check out my shop on Etsy. You can just order them from me instead! https://www.etsy.com/shop/OliveandOscar?ref=shop_sugg


 After you've got the hole punched place the "male" side of the grommet on the base.
 Place your lid on top wrong side up. Then place the "female" side. Insert the tool to pound down the grommet and hit it with your hammer until snug. Don't get overzealous though or you'll warp the lid!
 Ta da! You're done! Enjoy your mason jar tumbler with your name!
 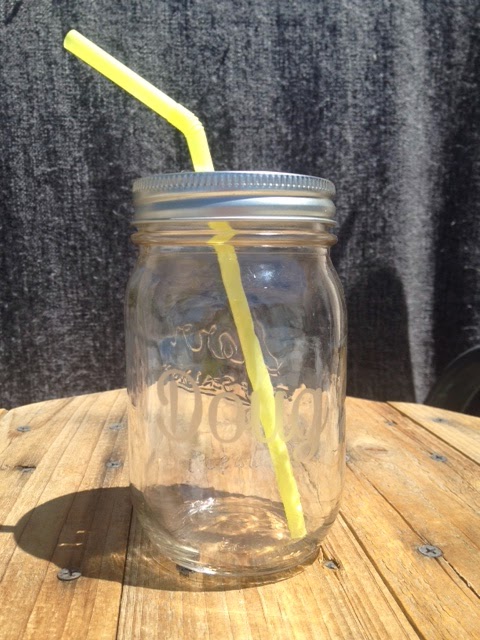 By the way if you love these but don't have the time or the desire to DIY, check out my shop on Etsy. You can just order them from me instead! https://www.etsy.com/shop/OliveandOscar?ref=shop_sugg
No comments:
Post a Comment